
Last updated September 23, 2026
Free visual inspection and a written scope of work before any mitigation begins - photos, moisture readings, and drying logs go in your claim file
The scope we write is the scope we bill. Anything new gets shown to you, in writing, before we touch it.
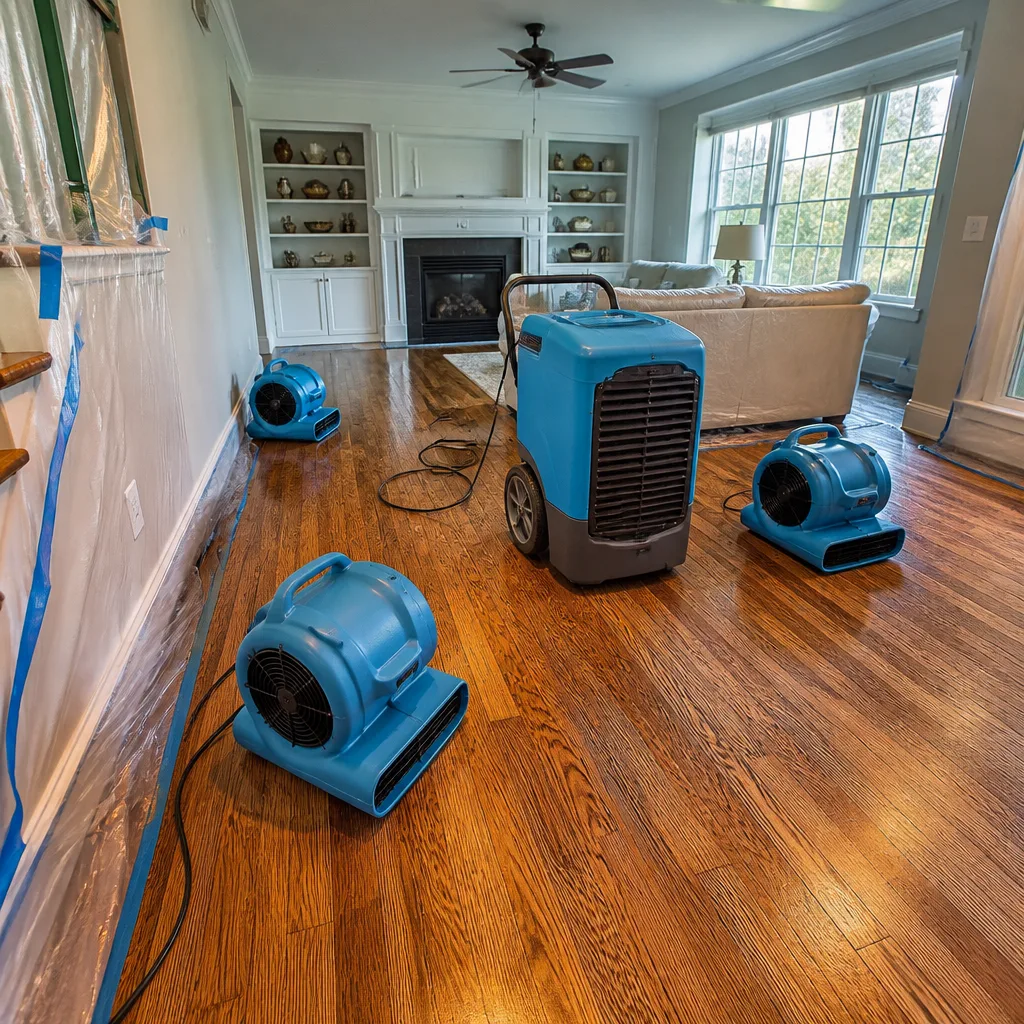

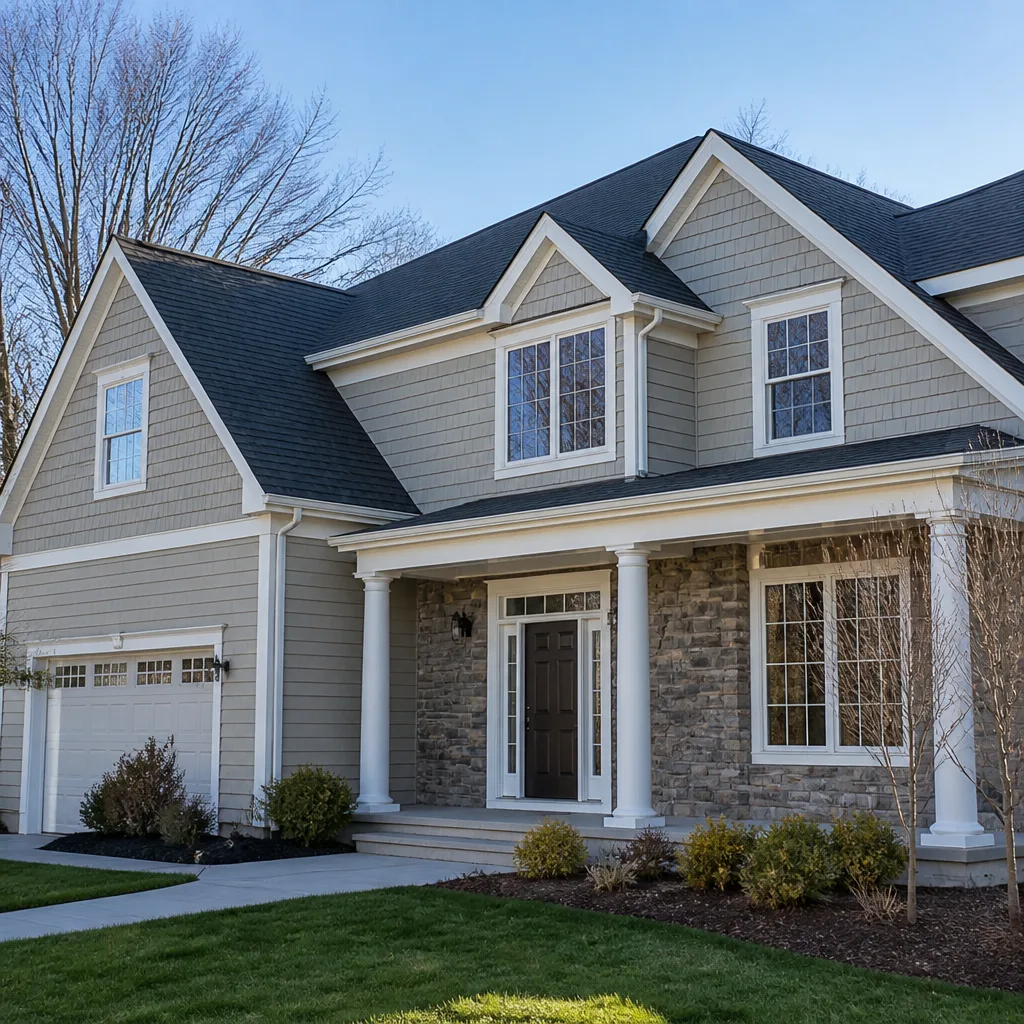
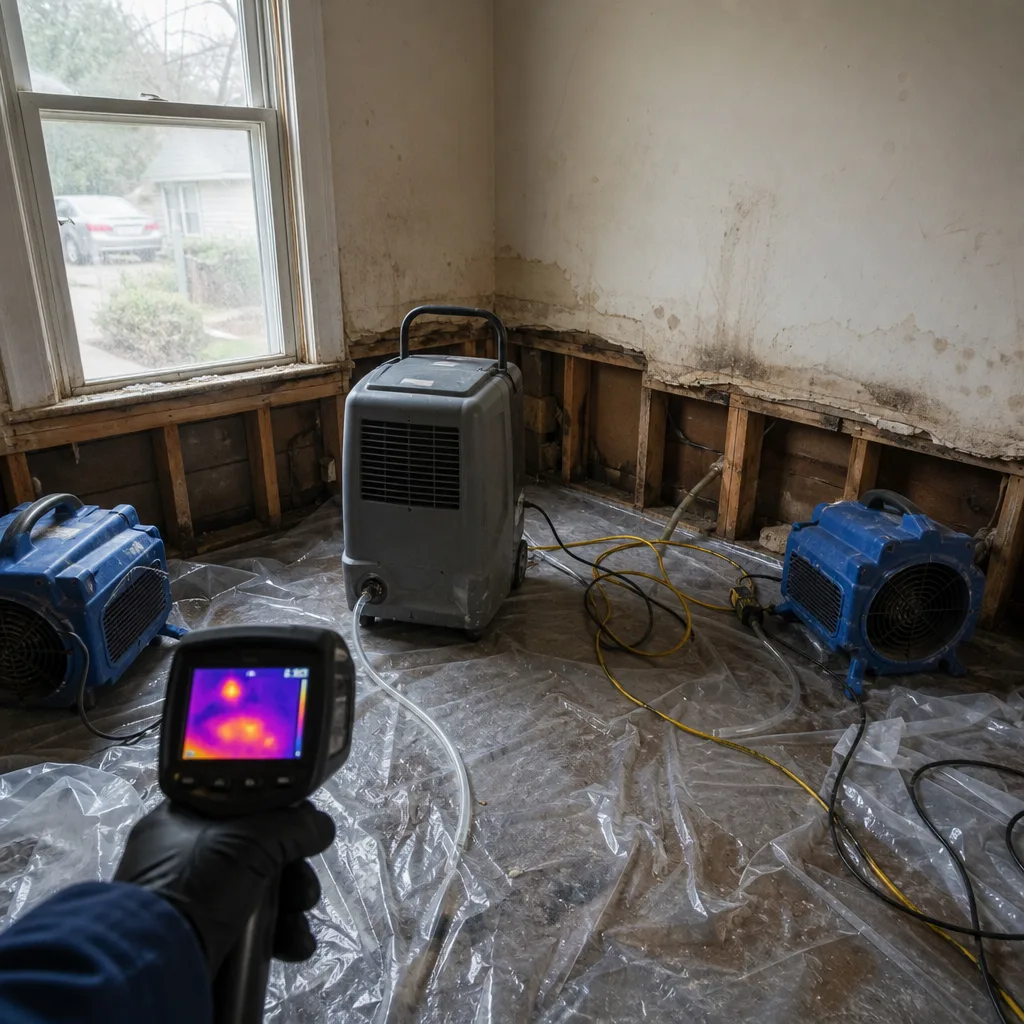 Before
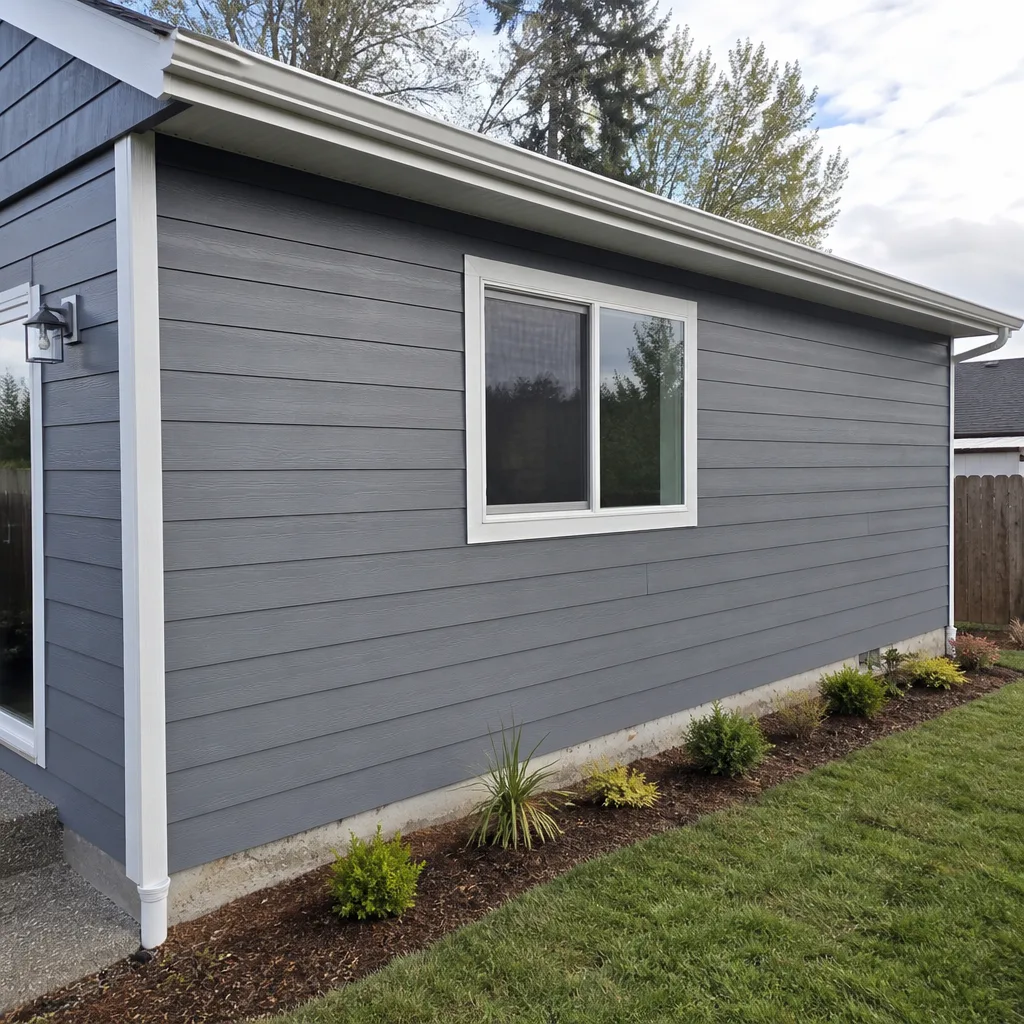 After
After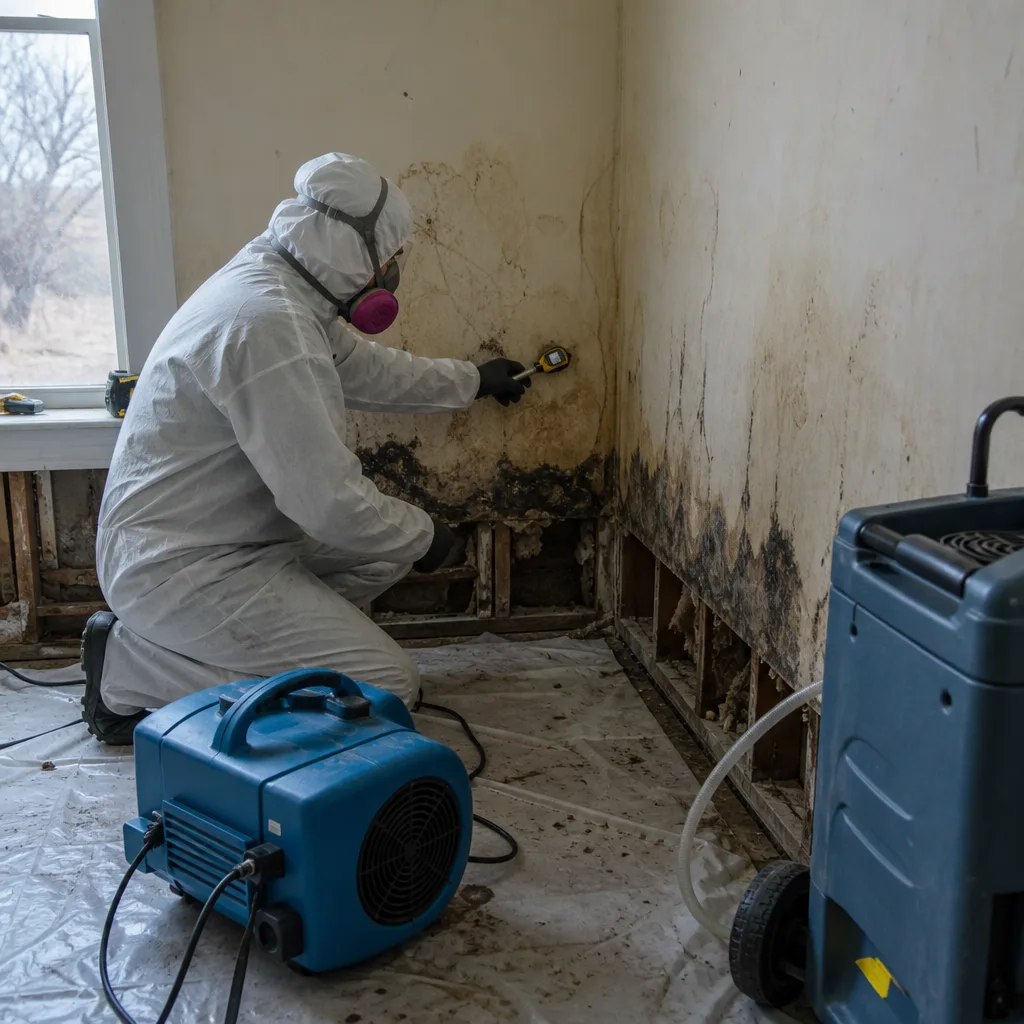 Before
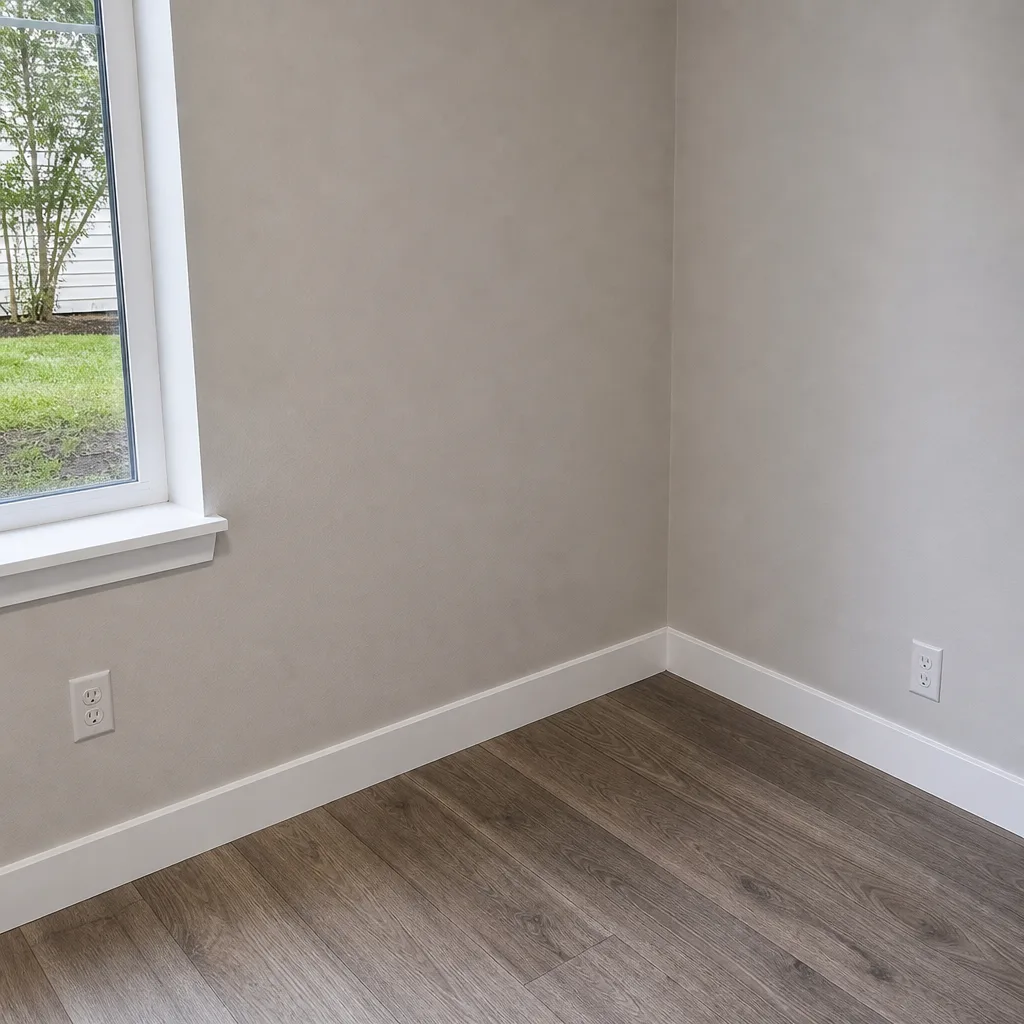 After
After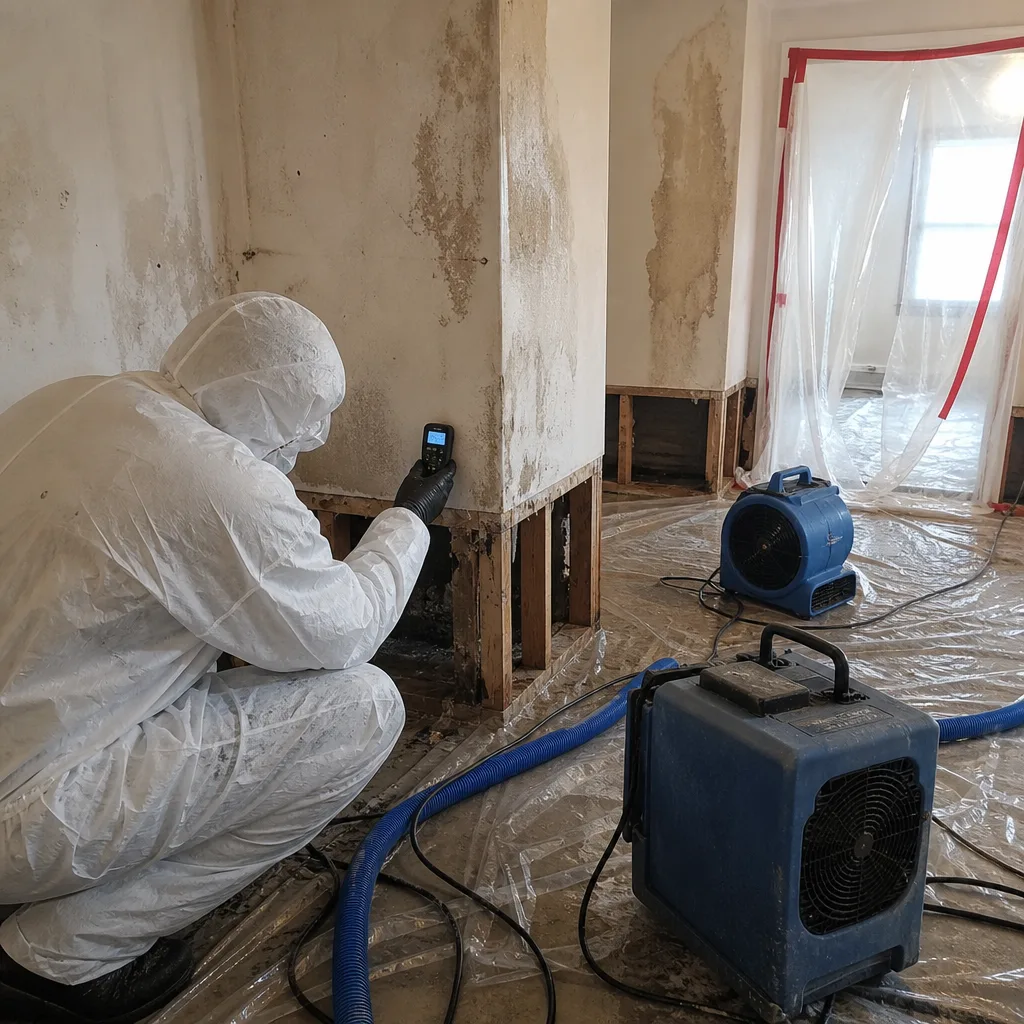 Before
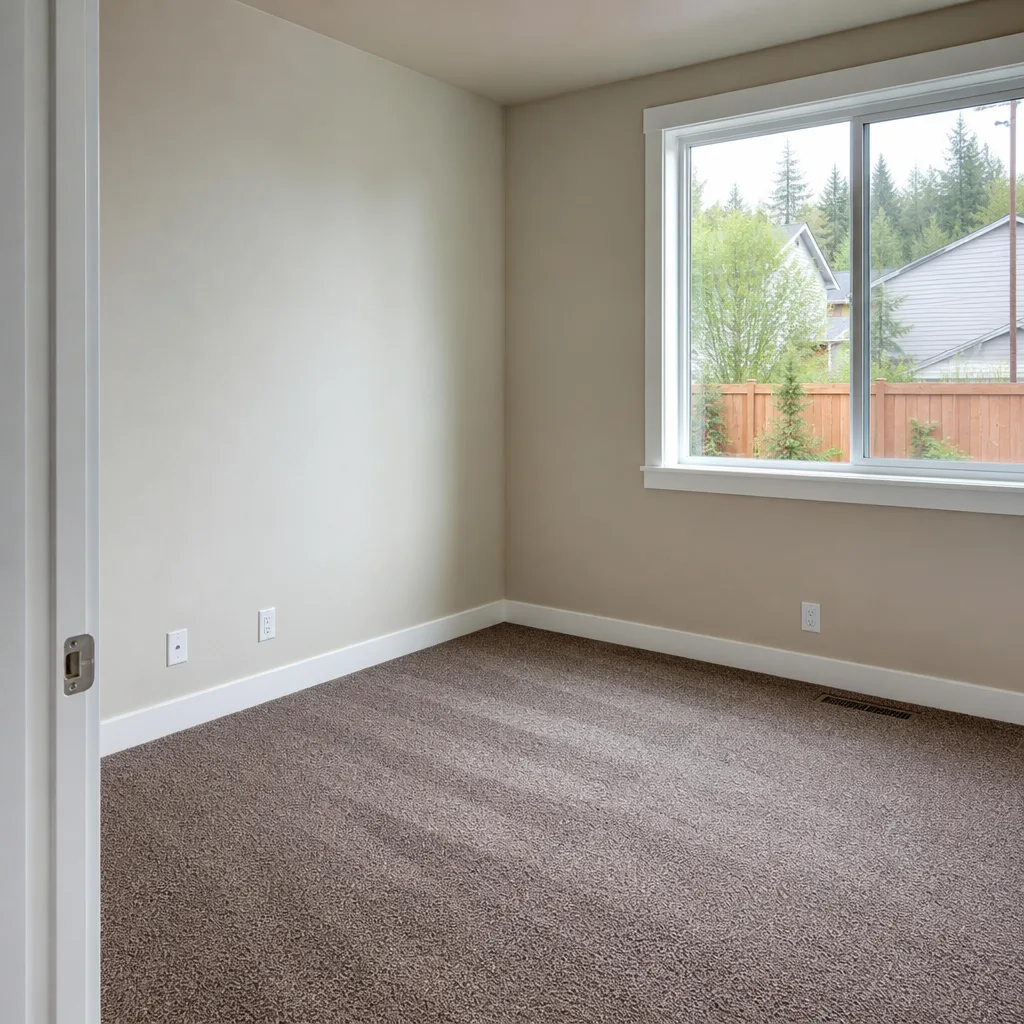 After
AfterWater Damage Restoration Maintenance Checklist for Marysville Homeowners
Insurers deny roughly one in five water damage claims in Snohomish County by citing “long-term seepage” or “deferred maintenance.” Both phrases vanish from denial letters when a homeowner produces a dated inspection log showing the same wall cavity read 12% moisture six months earlier. In Marysville, where clay-heavy soils trap water against foundations and cedar shake roofs shed differently than composite shingles, maintenance without documentation is just chore-work. Maintenance with documentation is claim protection. This guide builds a checklist around the record, not just the task, so Marysville homeowners have evidence when they need it. For the full process, see our Water Damage Restoration overview.
Quick Answer
A water damage restoration maintenance checklist for Marysville homeowners should include quarterly plumbing and envelope inspections, semi-annual roof and drainage assessments, and annual crawl space and foundation reviews, all recorded with dated photos and baseline moisture readings. For deeper context, read The Complete Guide to Damage Restoration in Marysville. The critical difference: each task produces a written, dated record that proves maintenance occurred, making “deferred maintenance” denials impossible to sustain. Without that record, even perfect maintenance fails as evidence.
Table of Contents
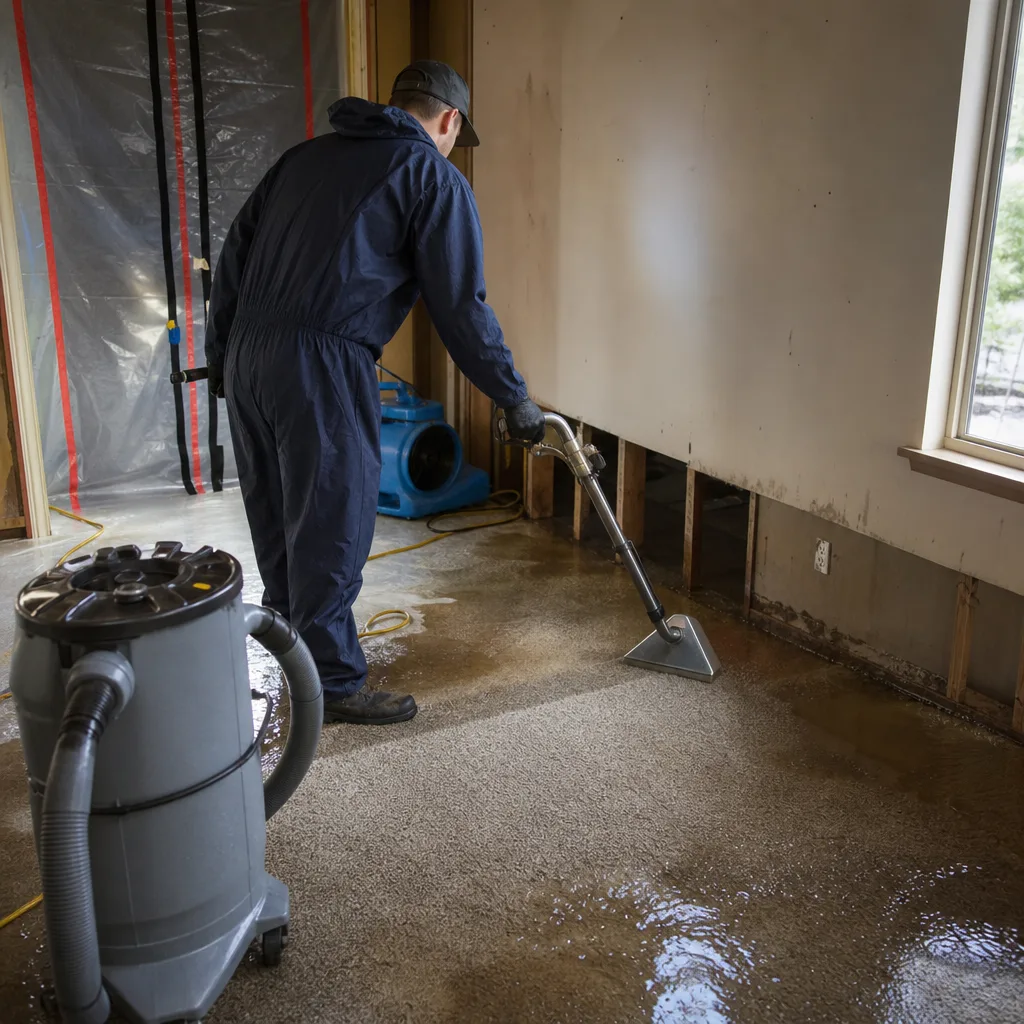
- Why Marysville Conditions Demand a Different Checklist
- Building Your Documentation System: The Moisture Baseline
- The Six Components Most Likely to Cause Category 2 Water Loss
- The Photography Protocol That Creates Admissible Evidence
- Quarterly Tasks: October Through April (Wet Season)
- Semi-Annual and Annual Tasks: Dry Season Pressure Cycles
- Common Mistakes to Avoid
- When to Call a Professional
- Frequently Asked Questions
- The Bottom Line
BeforeAfterWhy Marysville Conditions Demand a Different Checklist
Generic water damage checklists fail in Marysville because they ignore three local conditions that shape where water enters and how it behaves once inside.
Clay-heavy soils. The glacial till and clay layers throughout Marysville’s established neighborhoods, particularly east of I-5 toward Sunnyside and north toward Kellogg Marsh, expand when saturated and contract during dry spells. This seasonal movement cracks foundation perimeters, separates footer drains from discharge points, and creates hydrostatic pressure that forces water through slab joints. A checklist that ignores soil behavior misses the actual failure mode.
Cedar shake and shingle roofs. Marysville’s housing stock includes significant cedar shake construction from the 1970s through 1990s, especially in neighborhoods like Jennings Park and Comeford Park. Cedar sheds water differently than composite shingles: it absorbs moisture, swells, and sheds; but when shakes curl, crack, or lose their treatment, they channel water directly into skip sheathing rather than shedding it to gutters. Composite-shingle inspection criteria (looking for granule loss, tab lifting) do not apply.
Crawl spaces with minimal or degraded vapor barriers. Marysville’s wet season delivers 35+ inches of rain between October and April. Many crawl spaces built before 2005 have 6-mil polyethylene barriers that have torn, displaced, or degraded to the point that soil moisture evaporates directly into the floor assembly. Without a 10-mil or thicker reinforced barrier sealed at seams and piers, the crawl space becomes a humidity generator that elevates subfloor moisture year-round.
These three conditions mean a Marysville checklist must prioritize: foundation perimeter drainage, cedar-specific roof inspection, and crawl space vapor management. Generic checklists that lead with “check caulk around windows” are not wrong, but they are insufficient.
Building Your Documentation System: The Moisture Baseline
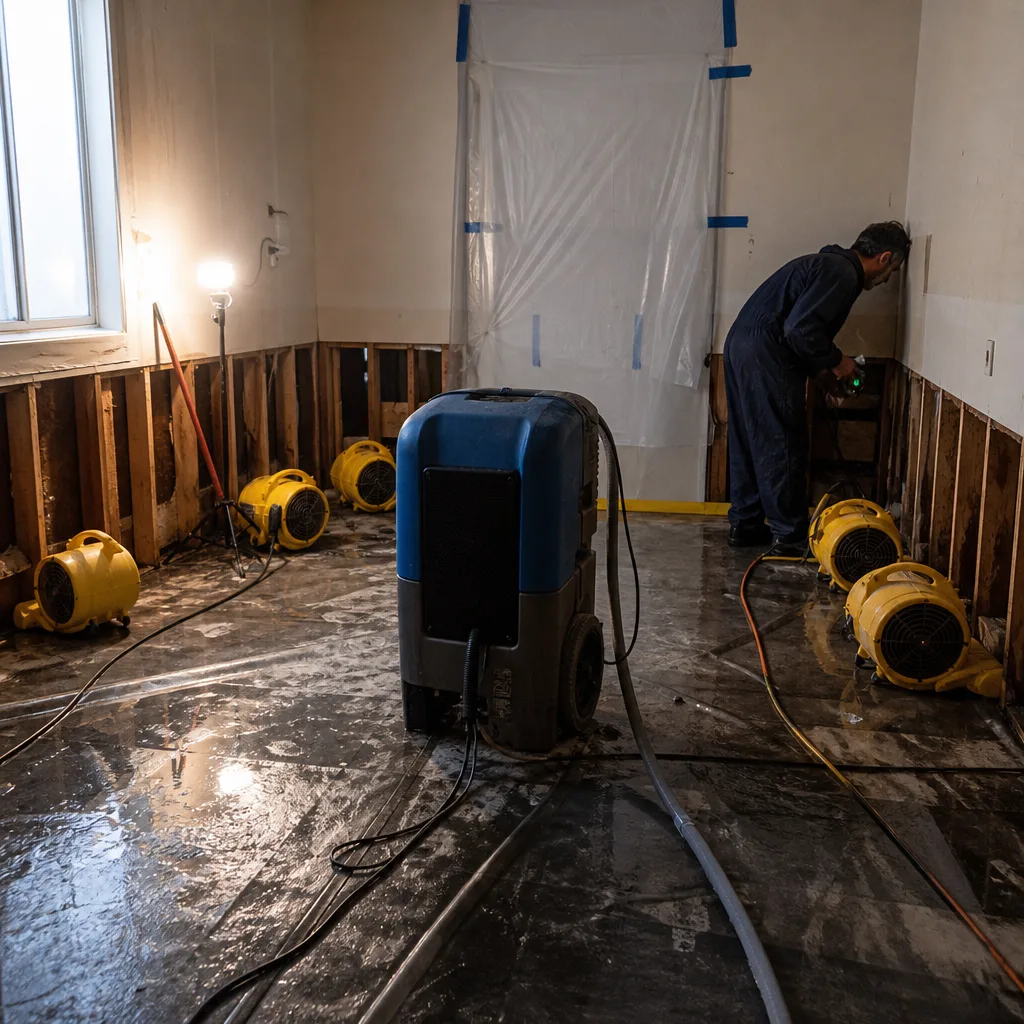
A maintenance record without measurements is a diary. A maintenance record with measurements is evidence. The single most powerful step a Marysville homeowner can take is establishing moisture baselines for every at-risk area, then re-measuring on schedule.
What You Need
- Pin-type moisture meter with wood-scale and reference-scale settings (consumer-grade units from Wagner or General Tools run $50-$120)
- Digital hygrometer for crawl space and attic ($15-$30)
- Waterproof notebook or dedicated phone app with timestamped photo capability
- Permanent marker for labeling photos by location and date
How to Take a Baseline Reading
- Select representative locations. In each area, choose spots that are visually normal, not obviously wet or discolored. For subfloors, measure at the center of a joist bay and within 12 inches of the foundation wall. For wall cavities, measure baseboard height near plumbing stacks and exterior corners.
- Record the number, not the interpretation. A pin meter on wood scale might read 11% in a joist bay. Write “11% - joist bay 3, center span, 01/15/2026.” Do not write “looks good.” The number is the evidence; your judgment is not.
- Photograph the meter display with the location visible. Include a piece of paper with the date and location in the frame. This creates a single image with measurement, location, and timestamp.
- Store by location, not by date. Create folders: “Crawl Space,” “Master Bath Subfloor,” “North Foundation Wall.” Each folder contains sequential readings. When a claim arises, you produce the folder for the affected area, not a chronological dump of every reading in the house.
Baseline readings taken in October, before the wet season intensifies, provide the comparison point for April readings. A subfloor that measured 11% in October and 19% in April has a documented moisture gain that justifies investigation, even without visible damage. A subfloor with no October baseline and a 19% April reading is just a number with no context.
In our experience at Water Damage Restoration in Marysville, the most successful insurance claims we document begin with homeowner records that establish pre-loss condition. The daily drying logs we produce with Phoenix and Dri-Eaz equipment, showing psychrometric data and vapor pressure differentials, are powerful because they have a comparison point. Your baseline readings serve the same function for the pre-loss period.
The Six Components Most Likely to Cause Category 2 Water Loss
Category 2 water, or “gray water,” carries significant contamination and requires removal of affected porous materials. In Pacific Northwest split-level homes common throughout Marysville’s 1960s-1980s construction, six components generate the majority of Category 2 losses we encounter.
1. Washing Machine Supply Hoses
Braided stainless hoses fail at the crimp after 5-7 years. The failure is sudden and releases full pressure, 40-60 gallons in minutes. Check hoses quarterly for corrosion at crimps, bulging, or stiffness. Replace every five years regardless of appearance. Date the replacement with a permanent marker on the hose tag.
2. Dishwasher Drain Loop and High Loop
Marysville’s older split-levels often lack the required high loop in dishwasher drain lines, or the loop has sagged. Without it, sink drain backflow enters the dishwasher and overflows onto the kitchen floor. Verify the loop rises 32 inches minimum above the floor, secured to the underside of the countertop. Photograph the secured loop with date.
3>Condensate Drain Lines from High-Efficiency Furnaces
90%+ efficiency furnaces produce acidic condensate that corrodes PVC drain lines, particularly at elbows and horizontal runs. The line backs up, and the furnace’s internal overflow switch (if present) may fail. Check the drain line termination quarterly for flow during heating season. A dry termination in January means a blockage upstream.
4. Crawl Space Perimeter Drains
Footer drains in clay soil clog with sediment and root intrusion. When they fail, hydrostatic pressure forces water through the slab-to-wall joint. Check the sump pit quarterly for water level and pump operation. Pour five gallons into the pit and verify the pump cycles completely, with the check valve preventing backflow.
5> Cedar Shake Valley and Penetration Flashing
Valleys on cedar roofs collect debris and hold moisture against metal flashing. The flashing corrodes, and water enters at the valley centerline, running down rafters before appearing on drywall. Clean valleys in October and March. Photograph from the ridge with date, showing valley condition.
6. Exterior Hose Bibs with Vacuum Breakers
Frost-proof hose bibs in Marysville can crack if left pressurized with attached hoses through freeze events. The crack is internal and leaks into the wall cavity when the bib is next used. Remove hoses by November 1. Test each bib in April by running water for two minutes while a second person checks the interior wall for moisture or sound of running water in the cavity.
Each of these six components should have its own baseline record: hose installation date, high loop photo, condensate flow check log, sump pump test video, valley photo, and hose bib test date. A DryMark Restoration Marysville home inspection includes documentation of all six, but the homeowner who maintains independent records controls the narrative if failure occurs.
The Photography Protocol That Creates Admissible Evidence
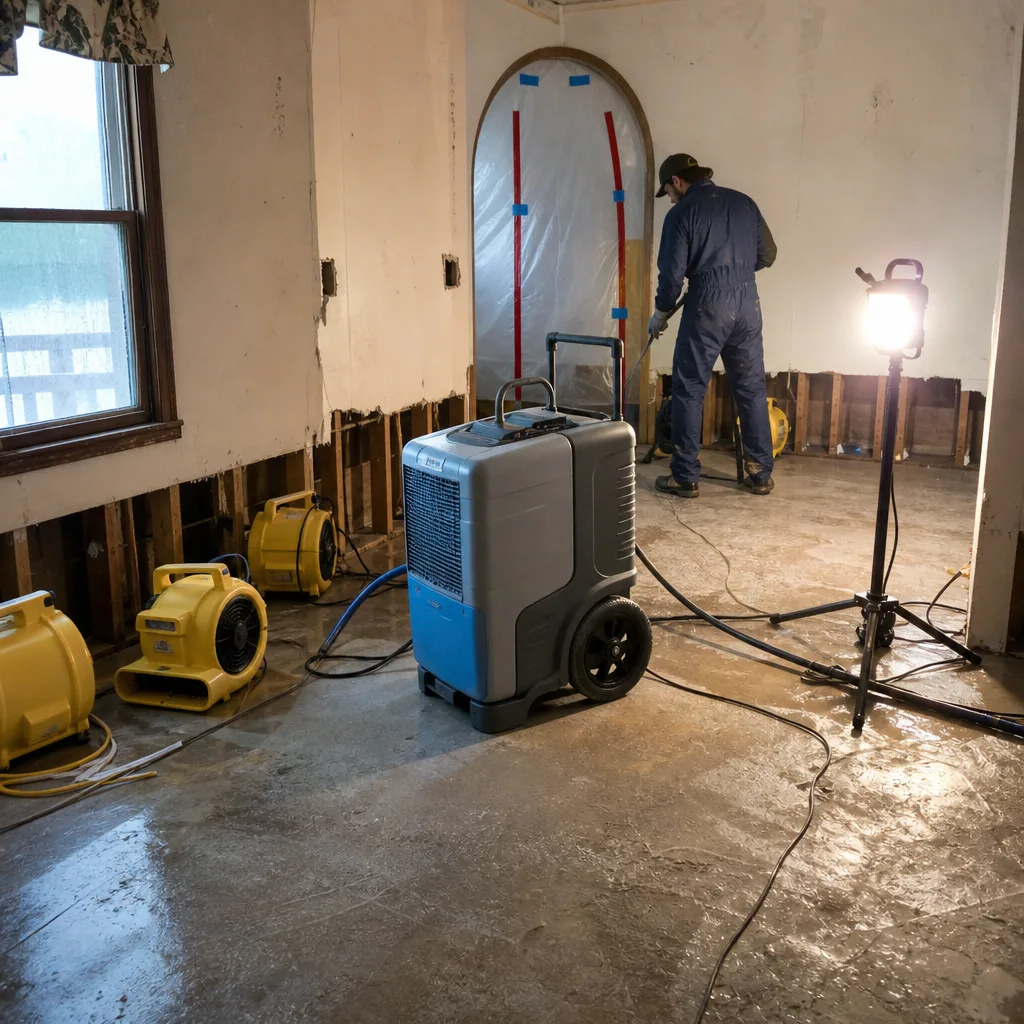
A photo is not evidence because it exists. It is evidence because it can be authenticated. Insurance adjusters and, if necessary, arbitrators evaluate photos by whether they establish date, location, and condition with minimal interpretation. A photo of a crawl space with no identifying features and no date is a picture of a crawl space. A photo of a crawl space with a dated newspaper, a specific pier labeled in prior documentation, and a moisture meter in frame is a record.
The Four-Photo Minimum Per Location
- Context shot. Wide enough to establish location: the full wall section, the full appliance, the full roof slope. Include a fixed reference point (electrical panel, window, permanent structural element) that appears in prior and subsequent photos.
- Condition shot. Close enough to show the specific component: the hose crimp, the valley metal, the vapor barrier seam. Fill 70% of the frame with the component.
- Measurement shot. The moisture meter, hygrometer, or test result in frame with the component visible in background. The meter display must be legible.
- Documentation shot. A piece of paper with the date, address, and your initials, placed in the frame. This authenticates the other three photos as contemporaneous.
Storage and Retrieval
Cloud storage with automatic date stamping is sufficient for personal reference. For claim protection, maintain a secondary backup on physical media updated semi-annually. The key is folder structure: organize by location and component, not by date. When a leak appears behind the washing machine, you need every washing machine record, not every record from March 2024.
Written notes accompany every photo set. The note states what was checked, what was found, and what action was taken, with a signature and date. “Checked WM supply hoses 10/15/2025. No corrosion, no bulging. Crimps dry. Next replacement due 10/2030. [Signed].” This format requires no interpretation; it states facts that can be verified.
Quarterly Tasks: October Through April (Wet Season)
Marysville’s wet season concentrates 75% of annual precipitation into seven months. Quarterly inspections during this period focus on active water management: where water is being directed, where it might be entering, and whether systems that move it are functioning.
October: Pre-Season Baseline
- Establish or update moisture baselines for crawl space, attic, and all subfloor areas over unconditioned space
- Photograph roof condition from ground level, noting shake curling, moss accumulation, or missing pieces
- Clean gutters and downspouts; verify downspout discharge is 6+ feet from foundation or connected to perimeter drain
- Test sump pump by pouring 5 gallons into pit; record cycle time and check valve function
- Inspect foundation perimeter for new cracking, soil separation, or evidence of prior water pooling
- Remove and store garden hoses; test frost-proof bibs for internal leaks
January: Mid-Season Stress Check
- Re-measure moisture at all baseline locations; compare to October readings
- Inspect attic for condensation on sheathing, displaced insulation, or stained rafters (indicates warm, moist air exfiltration from conditioned space)
- Check interior walls below roof valleys and plumbing stacks for discoloration or texture change
- Verify condensate drain line flow from high-efficiency furnace
- Inspect washing machine hoses for stiffness or corrosion at crimps
April: Post-Season Assessment
- Final wet-season moisture readings; document any location that gained more than 4 percentage points from October
- Inspect crawl space vapor barrier for displacement, tearing, or ponding above barrier
- Photograph foundation perimeter for soil erosion, settling, or new cracking after freeze-thaw cycles
- Test hose bibs after re-pressurization; inspect interior wall cavities for leaks
- Schedule cedar roof professional inspection if shake condition degraded from October
Each quarterly cycle produces a dated record: photos, measurements, and written notes. The April record is particularly valuable because it documents condition at the end of maximum soil saturation, when foundation and drainage systems have been under the greatest stress.
Semi-Annual and Annual Tasks: Dry Season Pressure Cycles
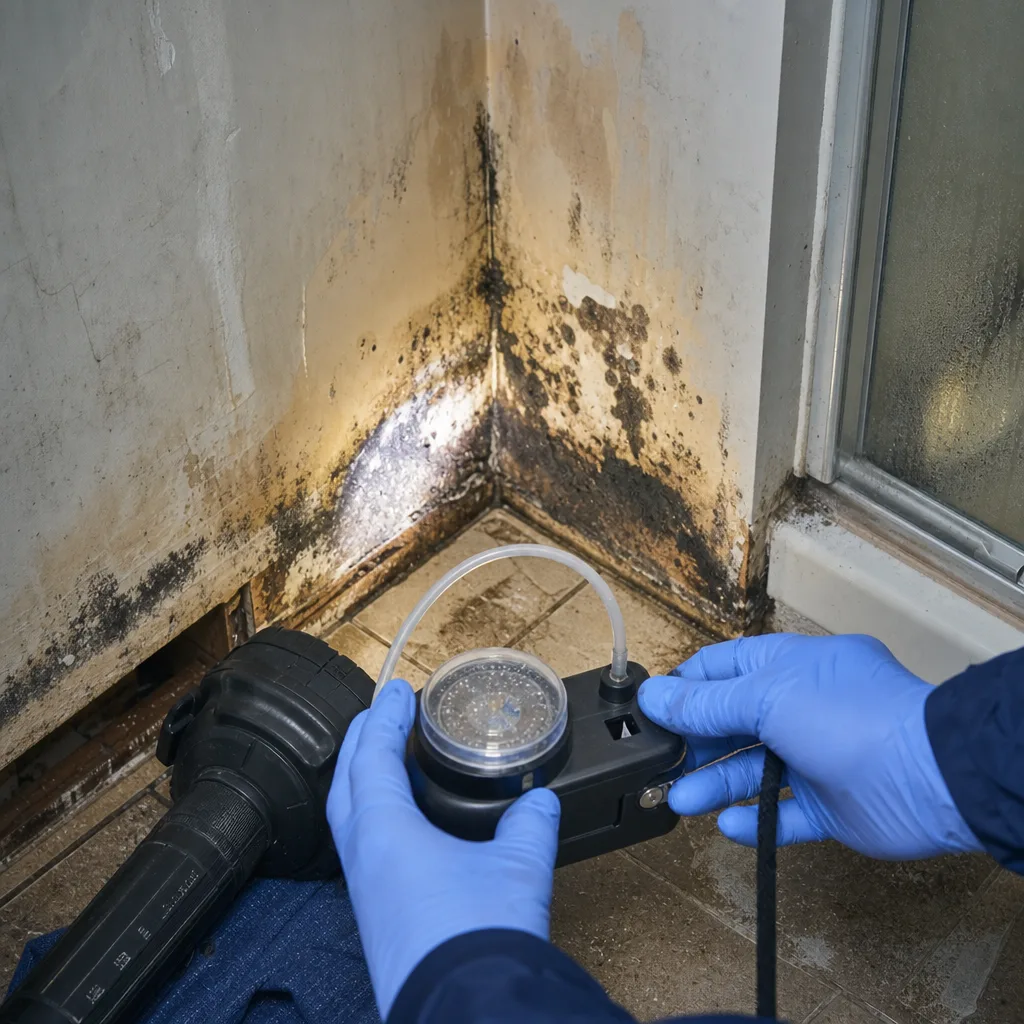
May through September in Marysville brings drying soils, irrigation systems under pressure, and thermal expansion of plumbing materials. The failure modes shift from infiltration to pressurized leakage and material fatigue.
Semi-Annual (May and September)
- Irrigation system pressurization test (May). Run each zone individually and walk the line, checking heads, risers, and valve boxes for pooling or spray misalignment. A head that sprays the foundation wall delivers 2+ gallons per minute directly to the perimeter. Photograph each zone’s coverage pattern.
- Irrigation system blowout and winterization prep (September). Document shutoff valve position, backflow preventer drainage, and system pressure release. A photo of the winterized state proves the system was not pressurized during freeze risk.
- Water heater pressure relief valve test. Lift the T&P valve lever briefly; water should discharge through the drain line, not into the pan. A valve that dribbles or fails to reseat needs replacement. Date the test on the tank with permanent marker.
- Exterior caulking and sealant inspection. Check window perimeters, door thresholds, and utility penetrations. Pacific Northwest sun exposure, even in Marysville’s moderate climate, degrades acrylic latex caulk in 3-5 years. Silicone or polyurethane lasts longer but requires different application. Photograph gaps or failures; note repair date.
Annual (June or July)
- Professional roof inspection for cedar shake roofs. A qualified inspector walks the roof, checks skip sheathing condition, evaluates shake thickness at butt ends, and identifies areas where treatment has failed. The inspection report becomes part of the maintenance record. For composite roofs, self-inspection from a ladder with binoculars is sufficient; document with dated photos.
- Crawl space comprehensive review. Full access inspection of vapor barrier condition, pier post bases, sill plate, and rim joist. Look for fungal growth, insect activity, or wood discoloration. Measure and record subfloor moisture at all baseline locations. If readings exceed 17% wood moisture content, schedule professional evaluation; this is the threshold where wood-decay fungi become active.
- Plumbing pressure test. Install a pressure gauge on an exterior hose bib and record static pressure. Ideal range is 50-70 psi. Pressure above 80 psi accelerates hose and fitting fatigue; a pressure-reducing valve may be needed. Record the reading and date.
- Foundation drainage evaluation. During a moderate rain event (not a downpour), observe surface water movement around the perimeter. Water should flow away from the foundation on all sides. Ponding indicates grading failure, gutter overflow, or drain blockage. Photograph flow patterns with date and rainfall amount from local weather reporting.
The dry season tasks are often neglected because the urgency of active rain is absent. But irrigation leaks in July can saturate soil against a foundation for weeks unnoticed, and thermal expansion of PVC plumbing creates mid-summer fitting failures. The annual crawl space review in June, when soil is driest, establishes the low-moisture baseline that makes wet-season readings meaningful.
Common Mistakes to Avoid
- Recording “looks fine” instead of measurements. A photo of a dry crawl space proves nothing six months later. A photo of a moisture meter reading 12% in that same crawl space is a baseline. Adjective-based records fail; number-based records prevail.
- Storing records by date instead of location. When a leak appears behind the north bathroom wall, you need every north bathroom record, not every record from 2024. Folder structure determines retrieval speed, and retrieval speed determines whether you produce evidence before the adjuster closes the file.
- Ignoring cedar shake specifics. Marysville homeowners with cedar roofs who apply composite-shingle maintenance standards miss the actual failure modes: treatment degradation, shake thinning, and skip sheathing exposure. Cedar requires cedar-specific inspection criteria.
- Testing the sump pump without verifying discharge. A pump that runs but discharges into a blocked line or frozen termination is not functioning. The test is not “does it run” but “does the pit empty completely and stay empty.”
- Skipping the dry season. The majority of foundation irrigation leaks and thermal plumbing failures occur June through September. A wet-season-only checklist misses half the risk calendar.
- Relying on memory for maintenance dates. “I think I replaced those hoses a few years ago” is not evidence. A photo of dated hoses, or a written note with installation date, is. Memory fails; documentation does not.
When to Call a Professional
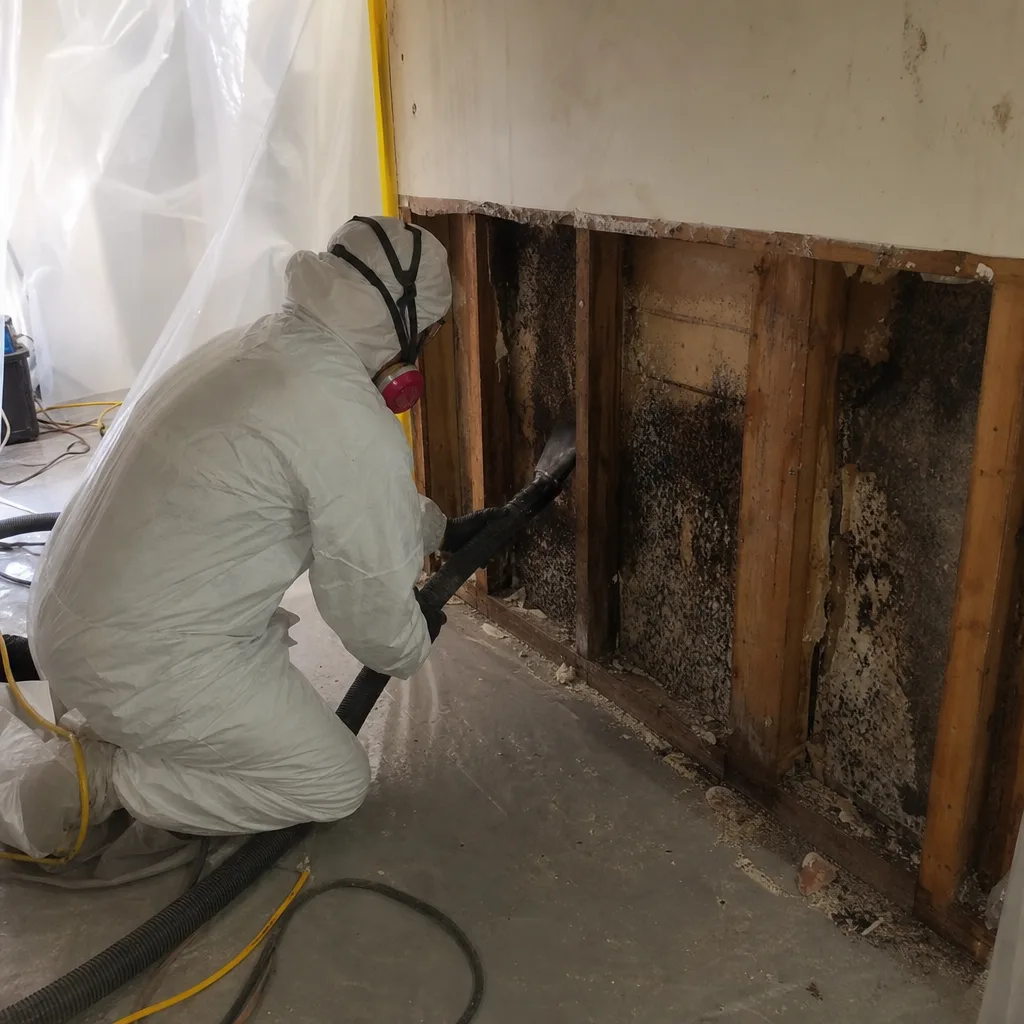
Some conditions exceed homeowner inspection and require documented professional assessment. Call for evaluation when: moisture readings increase more than 4 percentage points between any two scheduled measurements; you observe fungal growth, wood discoloration, or musty odor in crawl space or attic; a cedar shake roof shows widespread curling, thinning, or exposed skip sheathing; foundation cracks show horizontal displacement or stair-stepping in mortar joints; or any plumbing component shows active leakage that you cannot isolate and stop.
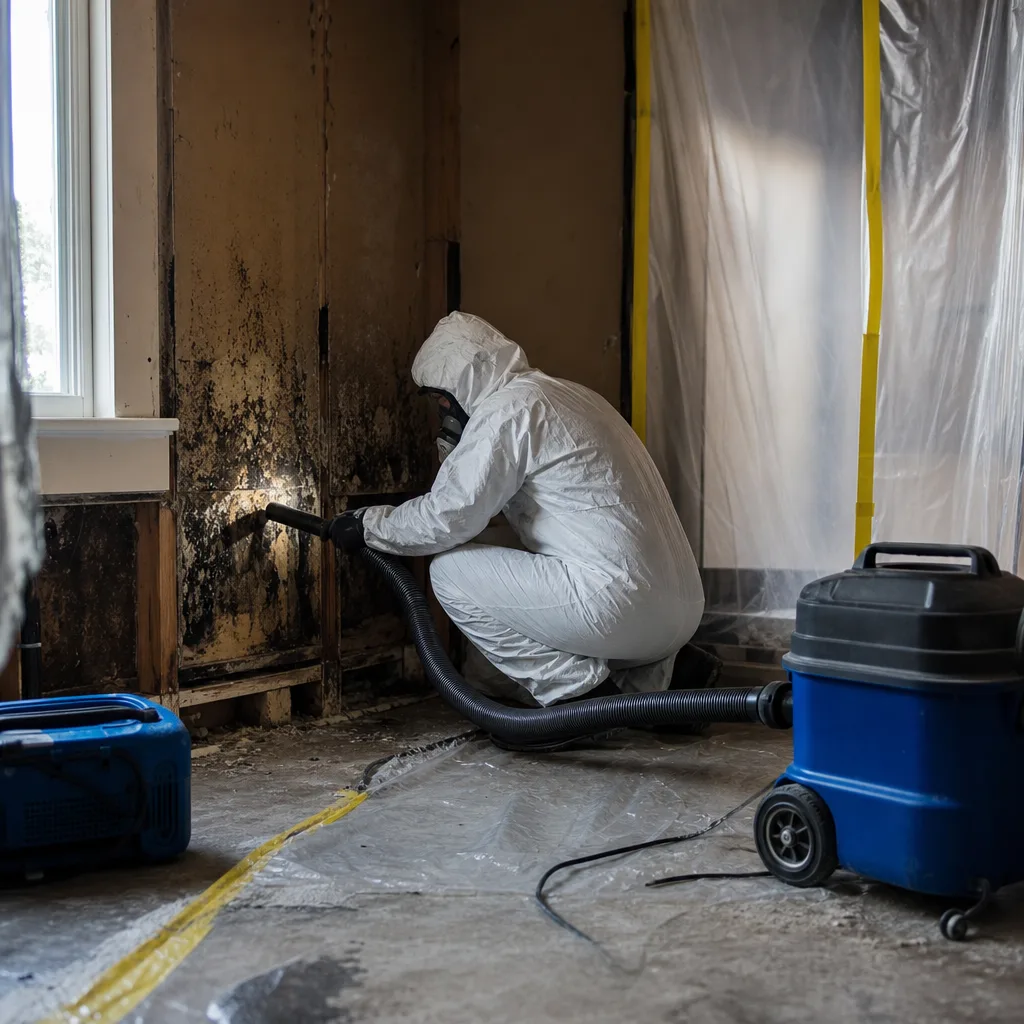
For water damage that has already occurred, professional documentation becomes essential for claim support. At Mold Remediation in Marysville, we document every assessment to IICRC standards with photo records, moisture mapping, and written scope before any work begins.
DryMark Restoration Marysville offers free estimates in Marysville - call (360) 822-3055. Every estimate includes a written scope, a documented photo record, and our 365-Day Done Right Promise backed by The Haven Standard. We do not begin work until you have a price in writing.
Frequently Asked Questions
Most qualified restoration companies in Marysville charge $150-$300 for a full moisture assessment with written documentation, though fees vary by property size and access difficulty. For detailed pricing factors, see our Damage Restoration Cost Breakdown: The Marysville Homeowner’s Reference for 2026. DryMark Restoration Marysville provides free estimates that include moisture mapping, photo documentation, and a written scope - no charge for the assessment itself. Call (360) 822-3055 to schedule.
Maintenance records do not guarantee coverage, but they eliminate the most common denial basis: “deferred maintenance” or “long-term seepage.” When you produce dated records showing the affected area was inspected and dry before the loss, the burden shifts to the insurer to prove the damage predated the claimed event. We have seen denials reversed on documentation alone.
For active water damage, response time depends on current weather events and call volume, but established Marysville companies with local crews typically arrive within 1-2 hours for emergency calls. DryMark Restoration Marysville maintains 24-hour live phone coverage with no voicemail on emergency lines. The critical factor is not speed of arrival alone but speed of documented assessment: moisture readings, photo record, and written scope before extraction begins.
The determination depends on water category, affected materials, and drying potential, not on visual severity. A Category 2 “gray water” leak of just a few gallons into a wall cavity with cellulose insulation requires material removal because insulation cannot be sanitized in place. A Category 1 clean water leak onto tile with rapid extraction and drying may not. Professional assessment with moisture meters and thermal imaging provides the objective basis for the decision. Call (360) 822-3055 for a documented evaluation.
The homeowner retains authority over the claim, but a documentation-focused restoration company coordinates directly with adjusters on technical matters: moisture readings, drying logs, material classifications, and scope revisions. At DryMark Restoration Marysville, we provide daily drying logs, photo-documented assessments, and written scopes that align with adjuster requirements, reducing back-and-forth and claim delays. Direct adjuster coordination is standard, not an add-on service.
Marysville’s combination of clay-heavy soils, older cedar shake housing stock, and minimal summer drying (relative to eastern Washington) creates sustained moisture exposure that cities with sandier soils or drier summers do not face. The clay holds water against foundations through May; the cedar shakes require treatment cycles that composite roofs do not; and the moderate temperatures mean crawl spaces rarely dry passively. A checklist calibrated to Phoenix, Arizona or Spokane, Washington would miss these conditions entirely.
The Bottom Line
A water damage maintenance checklist protects Marysville homeowners only when it produces a record. The tasks themselves - checking hoses, cleaning gutters, measuring moisture - are necessary but insufficient. The dated photo, the meter reading, the written note with signature: these transform maintenance into evidence that insurers cannot dismiss as “deferred.” Build your system around the four-photo protocol, the moisture baseline, and the location-based folder structure. Run the quarterly cycle through wet season, the semi-annual and annual cycle through dry season. When a loss occurs, you will have something no competitor’s generic checklist provides: proof that you maintained, measured, and documented, before the water ever arrived. Explore more guides & resources to strengthen your home protection system.
Written by Alicia Brennan, Owner at DryMark Restoration Marysville, serving Marysville since 2011.